Category: Pacer Pickup


More Interior

The interior is coming along nicely and almost complete. It’s taking me longer than I anticipated, but what else is new. The console is done as are the door panels.

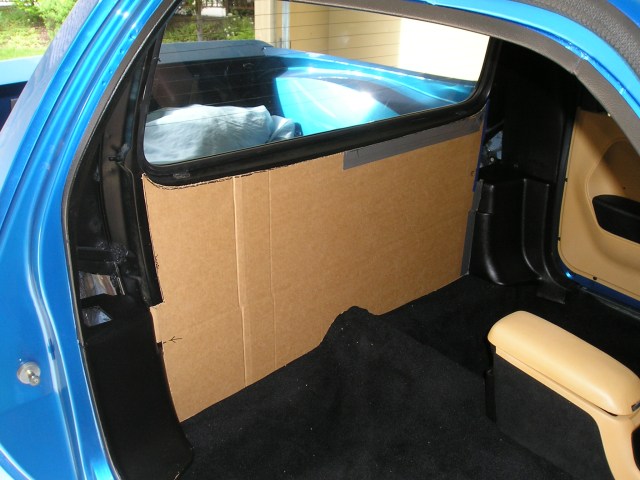
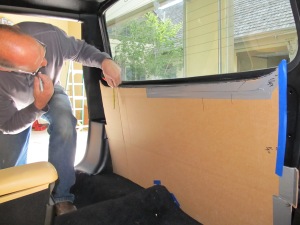
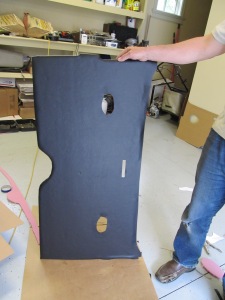
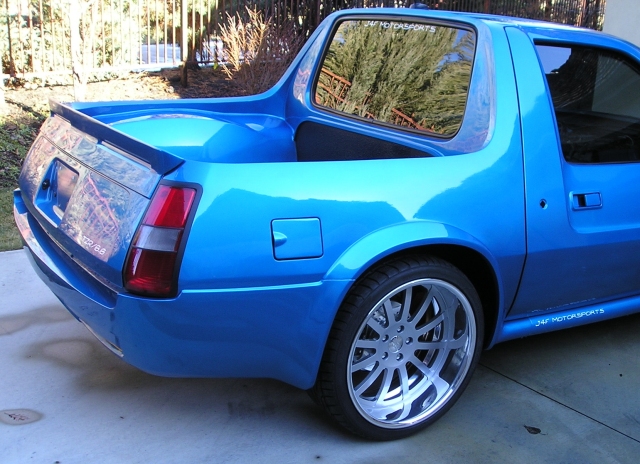
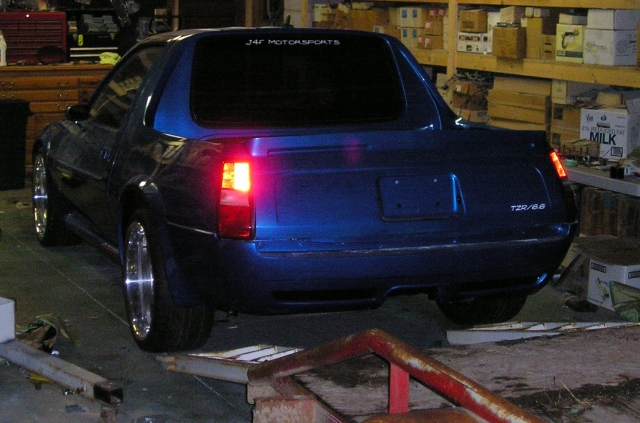
The next step was the rear panels. As the Pacer is now a pickup the back must be all new to fit the Volvo wagon hatch window and surrounding area. So out comes the cardboard and it’s template time again. Templates are not difficult to do they just take a little time, thought and a utility knife. I needed to make one main panel that would handle the area below the window and two side sections that would extend to the headliner, as they would need to be angled forward a bit.

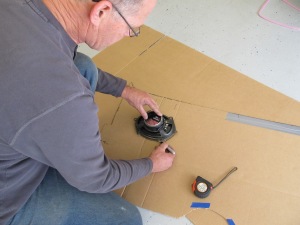
I use tape to fill in areas where to much of the template has been cut out. It is a process of cut and fit several times until you’ve got the shape you want. Once the main template shape is done it’s time to measure the speaker, courtesy light and wiring cutouts.

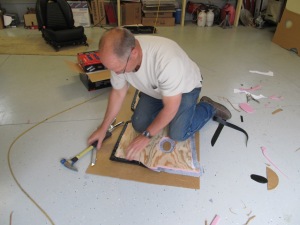
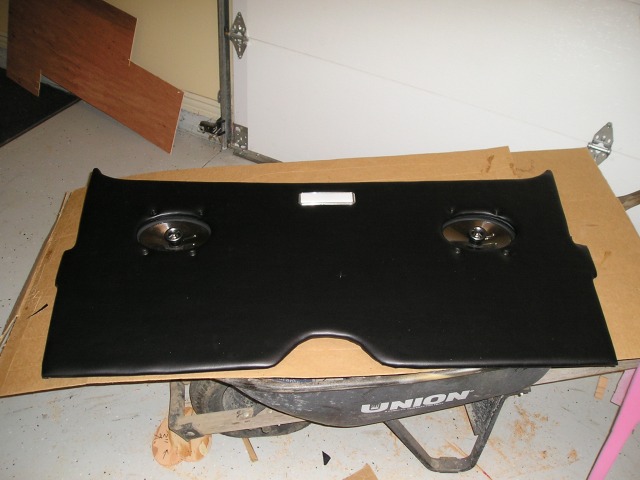
Once the temlate is done I set it over the 1/4″ plywood sheet and mark and cut it out. Check one more time to make sure the cut panel fits, make a few adjustments and it’s ready to be covered. First I glued a 1/4″ piece of foam to the front side and then a piece of black vinyl over the foam using a spray on upholstery glue you can buy at any parts or hardware store. Make sure you leave plenty of extra material at the edges so you can glue and or staple it to the rear side.

Once done it looks great and is ready for install. I will do that next week along with the building the side panels. I will also be building a subwoofer box at the center of the main panel, over the hump. The amp will set on top of the subwoofer box.

Dashboard and interior

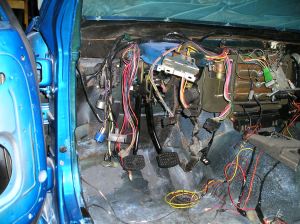
I haven’t had time to do“any” work on the pacer since I brought it home four months ago. Other home projects took precedent and when you remove yourself from a project for that long it’s always hard to jump back in and get started. I couldn’t finish the electrical system without installing the dash so I decided to go ahead. The dash was pretty much completed two years ago and has just been sitting on my counter. After months of delay, from the point of installing new electrical wiring for this and that and moving things around to fit the “custom” part, I got started. Throw into the mix moving the car and all it’s parts to a new location, wondering if you’ll be able to find everything again and if you can remember “What in the heck” all those wires go to and fear begins to set in.
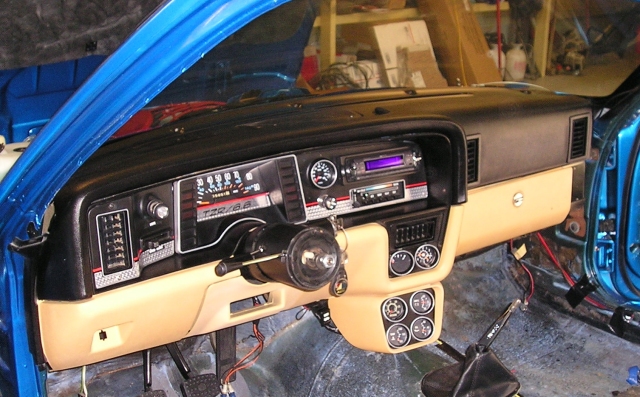
Thanks to my parts Pacer I was able to find parts to do the install that I had packed up and couldn’t find. For now I’m using the stock Pacer speedo but added a VDO tachometer, a Pacer Ralley pack gauge pod and moved the fuel gauge and clock just aboze the pod, with the help of a spare ralley pack pod. The tach had a flat surround and didn’t really match the other gauges so I cut out a gauge pod surround from a 67 Rambler American and fit it over the top. There were several wires, once the dash was installed, that I had no idea what they went to. One was new radio wiring, which I had already reinstalled, another was wiring for the fog lights and the other was a set of dash lights that went into the fuel gauge and clock. You can see them hanging by the gas pedal. No room to get them in so I had to remove the rally pak to get access.

Once all the new wiring was in place and the dash installed I wanted to finish out all the trim( which I also had finished and had been sitting on a shelf.. Well, it installs from the floor pan up so the carpet was next. I had gotten a tip from a local AMC buddy that Lowe’s carried some stuff called “Peel and Seal”, that was used in roofing applications but was virtually the same sound deadner products on the market but at a much cheaper price.
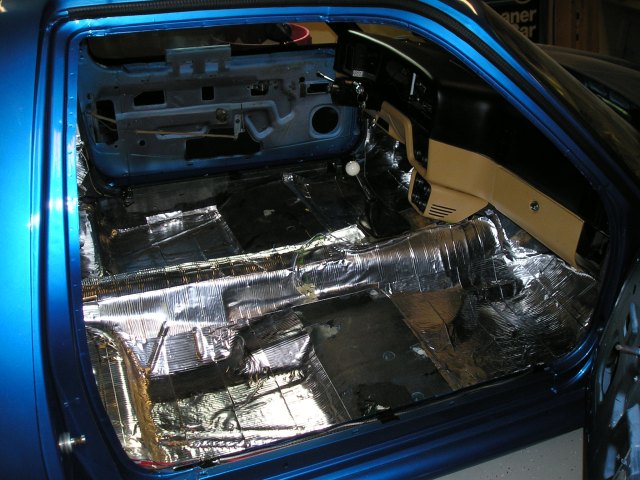
It was pretty easy to install and stayed put, even to an old floor pan. Be carfull! Once you overlap the seams they are very difficult to undo. I purchased an ACC carpet from Ebay and was a little worried about the fit. I had purchased a “molded carpet” for a 1979 AMX several years ago and if the heel pad had not been installed I would have had no idea which way it went in. It was a terrible fit and never did get it to fit very well at all.
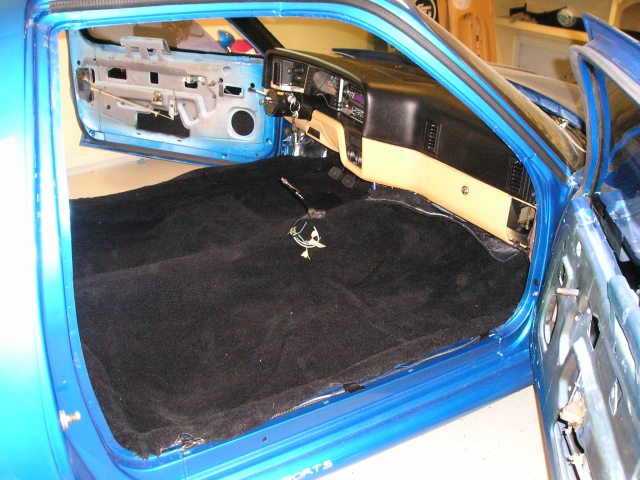
Much to my surprise it was a perfect fit! I haven’t had custom sewn carpets by my local Upholstery guy fit this well.
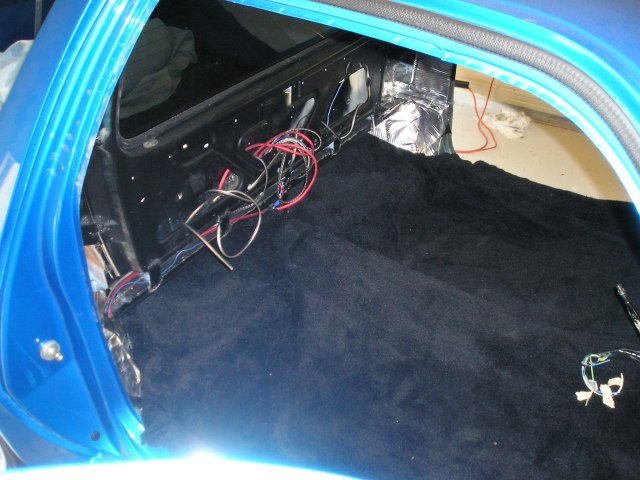
The rear carpet also extended about 12″-14″ further back than the factory carpet under the rear seat so it worked out great with the pick up design.

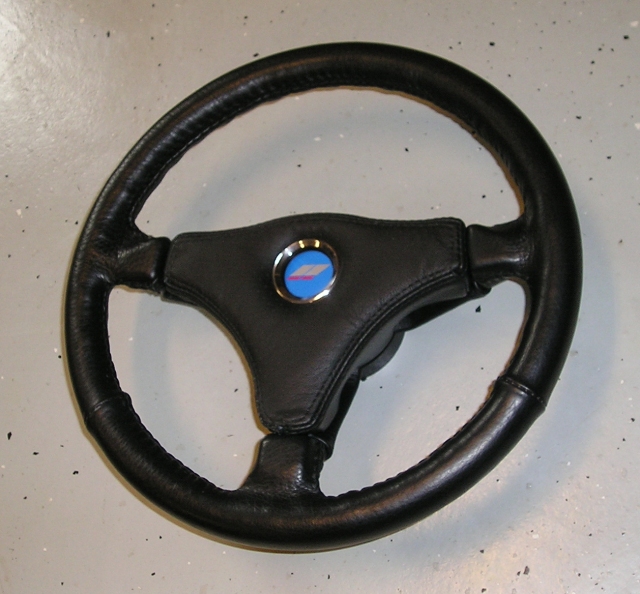
In the middle of all this my son surprised me with a custom made leather wrapped steering wheel he had made from a three spoke AMC sport wheel. I wondered were it had gone. It was awesome! We worked together on the center design and he made if to fit.
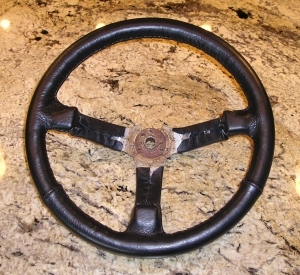
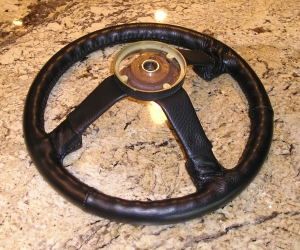


I wanted to use a Hornet hood emblem base I had so I cut a hole in the center and routed the edges so once the leather was installed I could cinch the base down into the center.


It turned out great!
I had a console from an early ’71 AMX that I knew would fit well under the gauge pod but once the dash was installed it just didn’t match the interior.
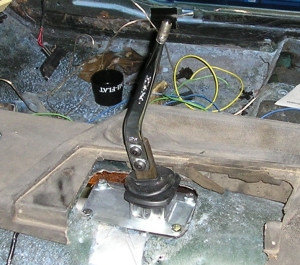
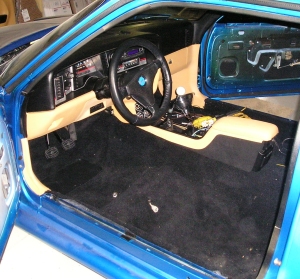
So now I had to hit the wrcking yard, and with a few measurements started searching for a console that would both work with my dash set up and half way match the interior. After some searching I came accross a console from an “Olds Acheiva S” and figured with some cutting and lowering it would work. You never know if it will and sometimes it takes a few tries but it turned out pretty nice. My son, Eric, is also making the custom leather seats, door panel inserts and shift boot for the console. I’ll have them early next week and get them in. Headliner and trim is all in, door panels are next and then the final touches on the rear window/truck bed wall, speakers, subwoofer and Amp.
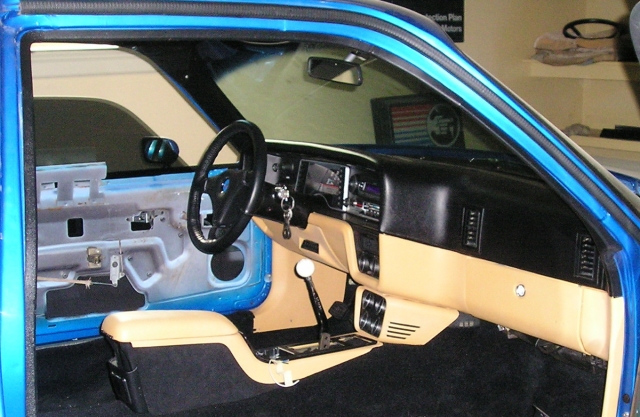
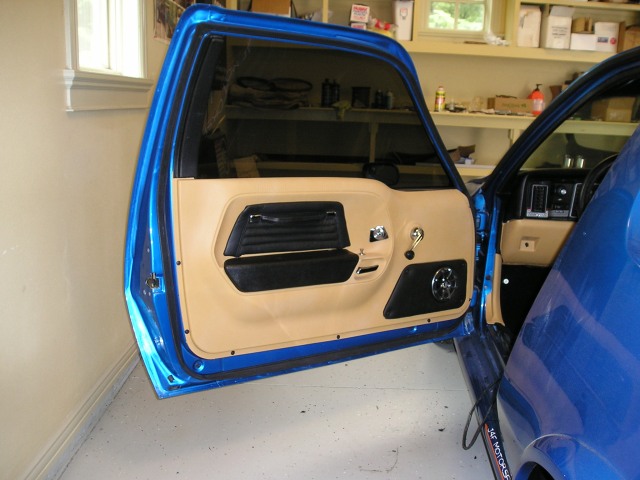
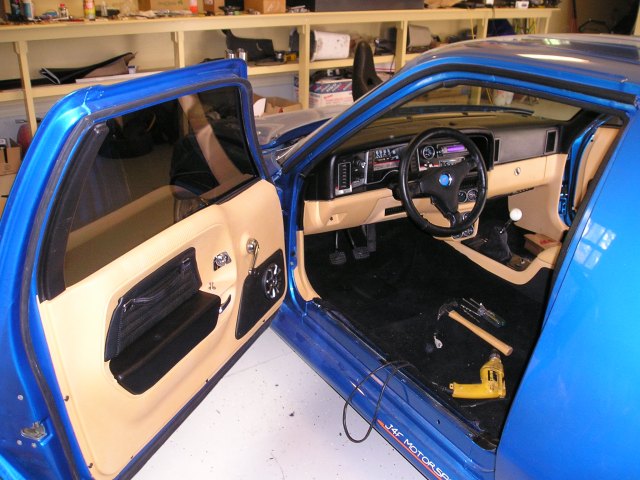
 

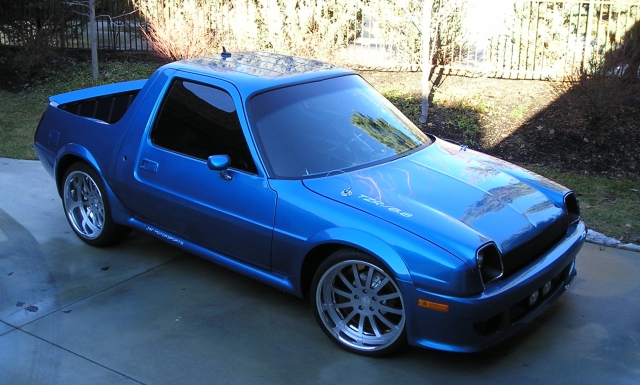
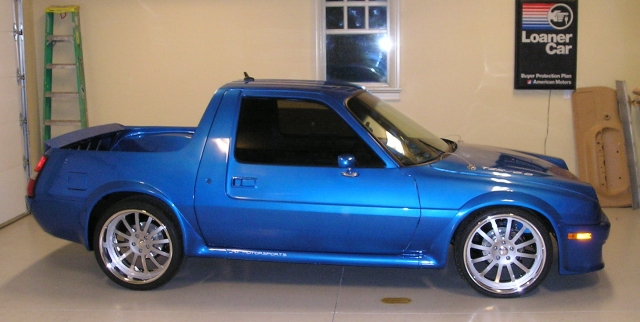
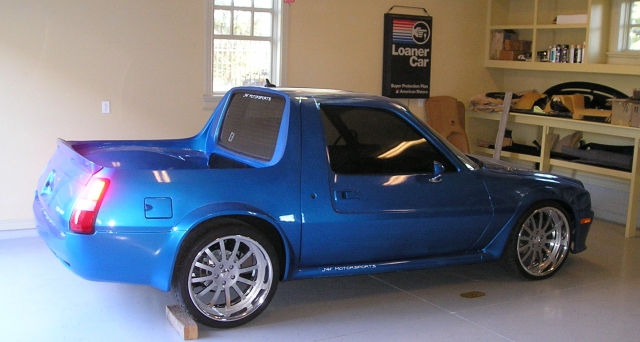
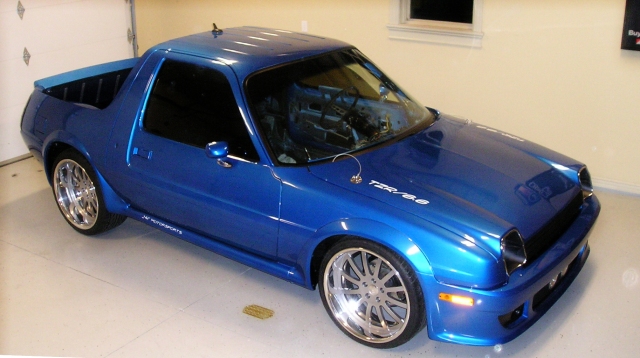
Bringing it out for pictures

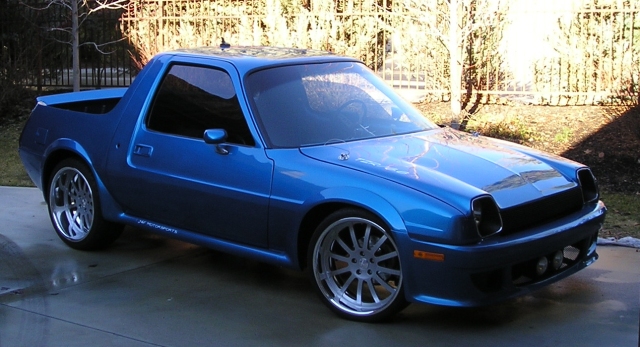
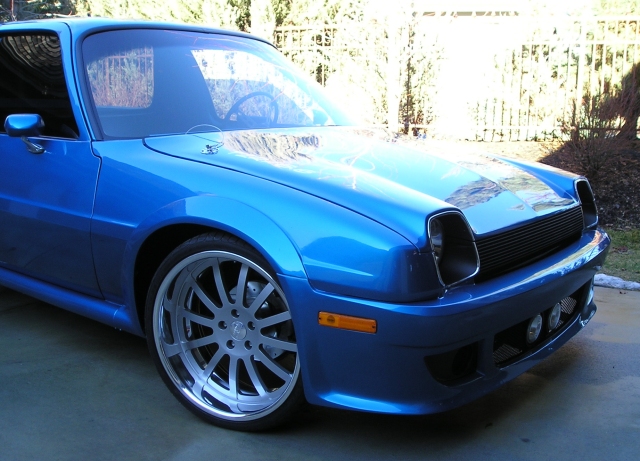
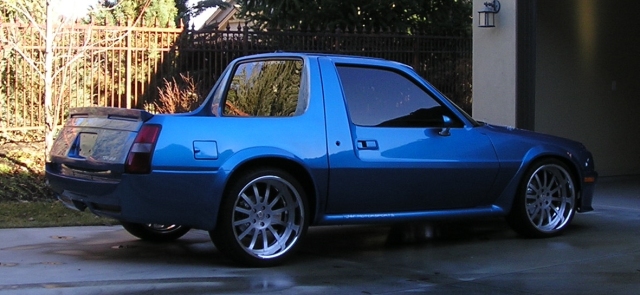
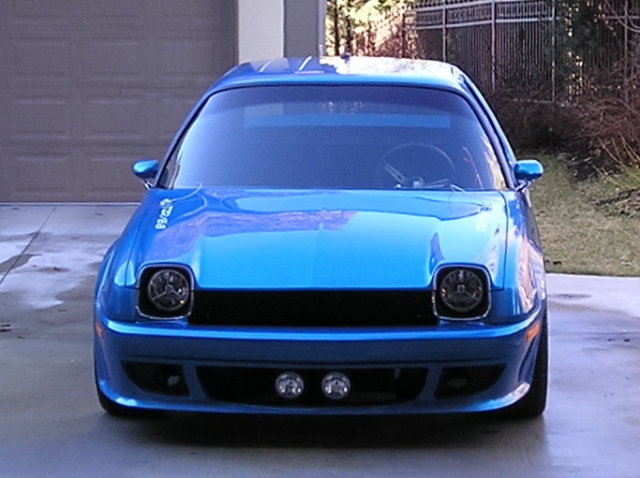
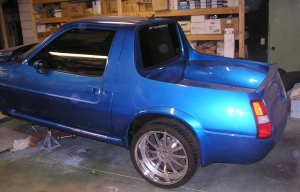
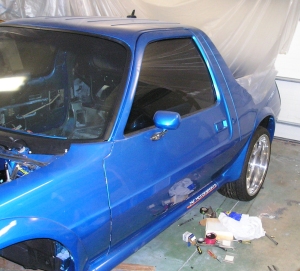
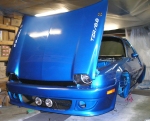
It was a nice day so I decided to pull it out of the garage for a few pictures. My motorcourt does no allow for alot of sunlight this time of year and since it is not in finished form it was push it out and back in again. I hope you enjoy them.

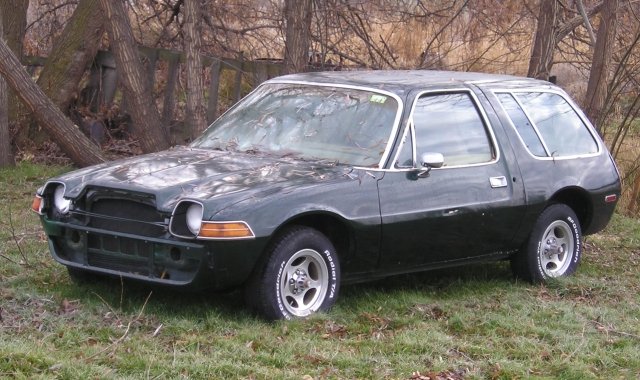
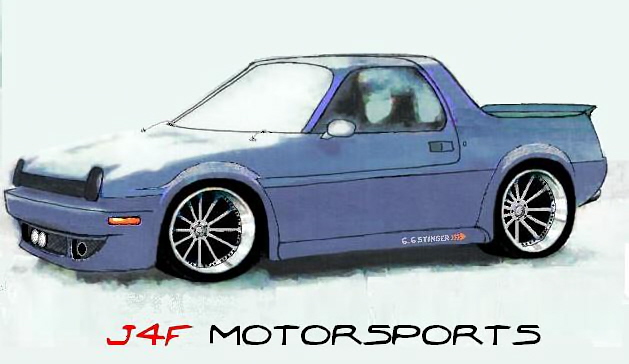
From reality…To concept…

To alternate reality.

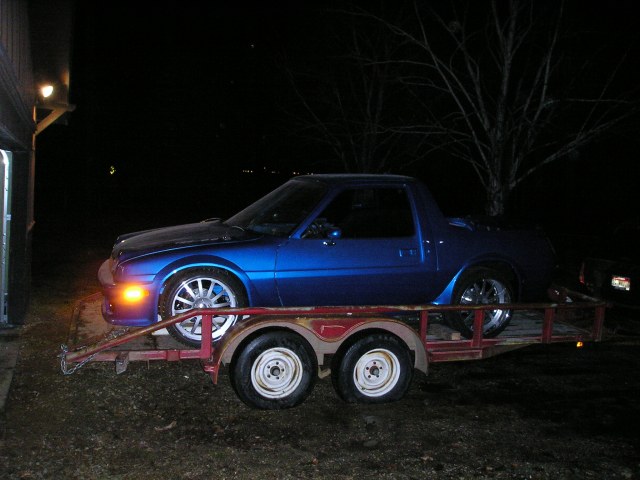
Bringing it Home.

At some point I wanted to get the Pacer home so I could finish the interior and final details. Everything that needed to be done in the shop was done. I didn’t want to do any paint or mechanical work in my own garage just in case I had some spill or smell problems. Figuring out the steering was frustrating and took me about 3 months just because I had to take some breathers so I didn’t start pounding on the car when angry. Putting it on the trailer was a Challenge. The Pacer was, “The first wide small car”, And with the wider wheels it left me with only about 1 1/2″ on each side from bare rim to trailer metal.

It was slow going but with alittle help from my jack we got it on.

Unloading I thought would be slow. Since it was so tight we had to take it off very carefully because it would be running down hill and we had no way of slowing it down. I decided to put some pull straps on both sides and let it down slowly an inch or two at a time. It was working great until my son let off tension for about 6″ at once. Well, it picked up too much speed and, “POP!”, went the straps and away went the Pacer. To my surprise it rolled off straight and the rims came through without a scratch. A little grunting and it is now home, ready to be finished and close enough to work on it in the evenings.

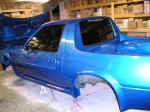
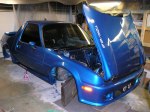
Gave it a little bath and ready for a few pics. It was way too cramped in the shop to get any good pictures.

One last sho

O.K., it’s all done but what a hassle. The Ford rack and pinion steering shaft sits about 1″ further towards the center of the car. I could not get the steering around the header. Not enough room or to steep of an angle to work. So, off came the headers. Believe me, I tried everything but bagged it out of frustration. Stock manifolds back on and with the help of some Borgeson parts it actually steers! Maybe someday when I get real ambitious I’ll try to tackle it again.

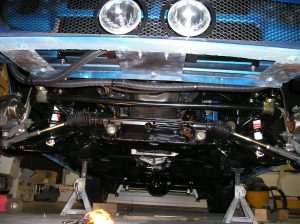
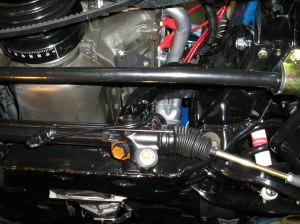
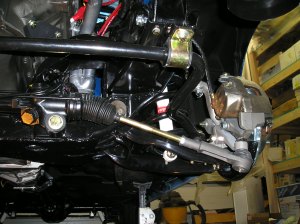
I decided to use a Mustang rack and pinion steering set up in the Pacer mainly because I wanted faster steering and they don’t make quick ratio steering gears for Pacers. Besides the Pcer R&P is like driving your grandmothers car, way too slow lock to lock. Along with that Mustang R&P units are alot easier to find then the Pacer. So many of their steering and suspension parts are becoming obsolete. It is not too difficult to do the switch but it does take some work. First remove the old Pacer R&P set up with outer tie rod ends and toss it or ? Then  remove the mounting brackets including the large welded plate on the left side. You will need to weld new mounting brackets onto the cross member. I did them in a u-shape with enough room between the mount and the crossmember to get the bolt and nut in. Then I welded a side brace just so I didn’t get any side movment in hard steering. While you’re at it you can replace the stock Mustang mount bushings with ployurethane or polygraphite bushings for more positve steering (another advantage in using the Mustang R&P). You want to make sure ( in a V-8 Pacer anyway) that you shift the gear far enough to the left to get around the exaust manifold with the steering shaft. If you are using the new Edelbrock headers get over as far as you can. I have not, as yet, hooked up the steering shaft and that will take a few borgeson joints but it should work. Then repaint and mount the new steering unit. The outer tie rod ends on the Mustang R&P are long enough for the Pacer front end and fit, as far as I can tell, right into the AMC steering arms tapered shafts. Next is hooking up the power steering hoses, which I have not done yet. But I’ll let you know once I get that and the steering shaft completed. Good luck!

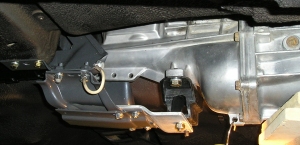
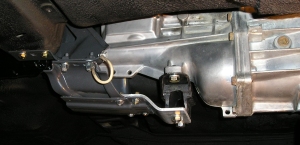
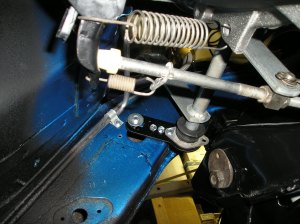
I have done a few other T-5 conversions in a Gremlin & Concord but never in a Pacer. It created some new challenges. First , of course, you need a bellhousing from an AMC SR-4 or later AMC T-5 transmission set up. Luckily the input shaft on the T-5 has the same shank as the T-10 so An AMC clutch kit for an earlier 401 fits perfect. The shaft on the SR-4 is the same length as the T-5 so that did not need any modification but the input shaft bearing cover on the T-5 is a little longer and will need to be shortened to match the SR-4. The diameter of the outer edge of the bearing retainer will also need to be reduced so it fits into the SR-4 bell housing opening . The crankshaft bushing will need to be replaced with a T-5 Bearing which needs to be altered. Get both a T-10 bushing and a T-5 bearing and take them to your local machine shop. Have them reduce the out side diameter of the T-5 Bearing to match the outside diameter of the T-10 bushing then press the bearing into the back of the crankshaft. It’s also a good idea to have them do the work on the bearing retainer to get a nice finish product but you could do it yourself. You will need to remove the old crankshaft busing wether or not you have a standard trans or automatic. Next is the rear engine (or transmission) mount. This will have to be custom made. The first picture shows my first attempt and it worked just fine except the tranny set up a little too high so I built another that drops it 1″ lower. You’ll use the stock Mustang T-5 tranny mount. Except for alterations to the driveshaft and fitting the T-5 yoke to it you’re about done. So I thought! A couple of nights ago I went to install the freshly restored clutch linkage. Converting over from an automatic the pedal assembly needed swaping and went in great, especially with the dash out. Next the clutch linkage. Should be a 30-45 minute job right? Well it didn’t work out that way. When I went to install the Z-bar the frame mount and the bell housing mount were way off, about 4″-5″ difference front to back. I checked my parts book and they all showed the same part numbers for mounts and clutch parts so I took a second, third and fourth look. No way was it going to work. I checked out another Pacer and found that the 6-cyl. Pacer engine sits about 4″-5″ further back in the engine compartment than does the V-8. What was the deal? It didn’t show different part numbers for any of the parts in the parts book. Then, Duh! They didn’t make a V-8 standard trans Pacer. I didn’t run into that problem in my Gremlin or Concord. The bell housing mounting location was set in stone so the modification would have to come from the frame mount. Luckily I had a bell housing mount bracket from a Gremlin/Hornet, which was about 1 1/2″ shorter in length, which helped pull the engine mount Z-bar location back a bit. My next challenge was the frame side. As I moved forward the frame moved upward and there was no were to mount the Z-bar frame bracket. So I made a template for a custom mount that would screw into the mount holes of the old bracket mount location. I would need to have it machined as I don’t have any tools to cut a hole appx. 1″ or so in diameter. As I was looking through some parts for something else I found a coumn shift lever with the correct hole size that has now become my bracket and the linkage is now complete. That’s about it. not too difficult and in the end it will be alot more fun than an automatic. I won’t be towing anything anyway. By the way you will need to cut the floor mount for the shifter but I figured that was a given. I did replace the stock Ford shifter with a Hurst short shifter. They work so much better.
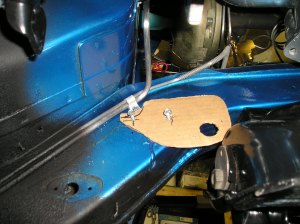
Installing the drivetrain

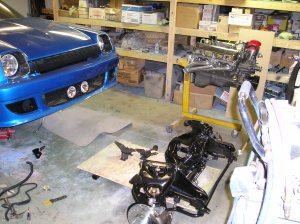
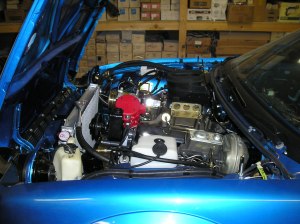
Time for the drivetrain to go together. I restored another V-8 Pacer several years ago and slid the motor and crossmember, as an assembly,underneath the car and lifted it into place. It worked so well I decided to do the same thing but add the tranny and clutch this time.

I set the crossmember on a piece of plywood with several 2″ abs pipes underneath. Once the drivetrain assembly was together I jacked the car front up and slid the drivetrain under, moving the pipes that rolled out from the front to the back. Then lowering the car, moving the cherrypicker over the motor and hoisting it into place around the frame. If your familiar with the Pacer front end, four nuts and two bolts and your all mounted. You have to remove the two bolts on the inner part of the upper control arm and move them out of the way until the crossmember is mounted then put a jack underneath the lower control control arm and jack it up then swing the uppers into place and secure.

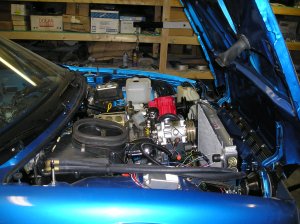
The T-5 rear engine mount will take a little work and the driveshaft will have to be shortened. I’ll tackle that next. I was going to have the factory radiator modified (shortened) and changed to a three core but found a new racing alluminum radiator that would fit (barely) at a fraction of the cost. A few modifications and it went in. It actual fits a fox body Mustang. I also replaced the Pacer rack and pinion set up with a fox body Mustang quick ratio rack and pinion. A few more alterations and it fit perfectly. The trick will be getting the steering shaft around the Edelbrock Headers. My freind used a Borgeson joint to do the trick.

Putting it back together

There wasn’t alot of trim to go back on but the glass needed reinstalling plus all the door parts, etc.. I found halogen headlights with built in turn signals which  solved that problem.

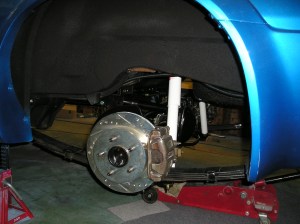
Next I installed the rear axle. I used a  ’93 Linclon Mark VII rear axle with posi, disc brakes, torque shocks and rear sway bar. It was just about the same width as the Pacer but was a coil rear suspension so the housing would have to be modified to fit the Pacers leaf spring rear. I also had to build special body brackets for the sway bar and torque shocks. I  purchased slotted and drilled rotors for the front and rear. The shocks are KYB gas-a-just shocks. I was going to install heavy duty air shocks but they were too wide to fit with the axle and torque shocks.

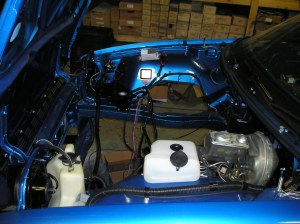
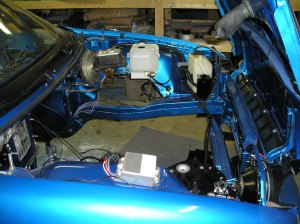
The next step was finishing out the engine compartment. My plan was to finish it and then slide the entire engine/tranny assembly under the car and lift it into position.

The drivetrain, rear axle and crossmember/front end assembly was completed before I started any of the body work so putting the car back together is going fairly quickly. There are always those challenges you face doing a custom that sneek up on you and slow things up. I’m sure there will be more.